I hope I get to pick up my Bow Tie quilt from
Pat's Just Quilting tomorrow! If I do it will be just in time to bring to show and tell at the
Portland Modern Quilt Guild meeting! Meanwhile I thought I'd do a tutorial for how to make these nifty little blocks, so here we go!
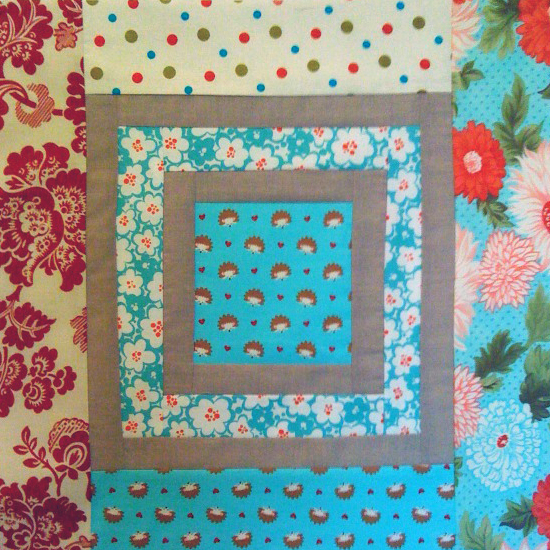
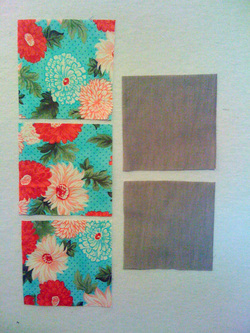
To begin cut three 5" x 5" squares of a print and two 5" x 5" squares of a solid. Charm squares are perfect for this, but you can vary the size to your liking. There are endless variations, just make them all the same size.
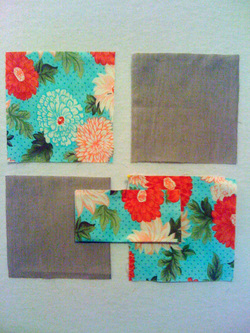
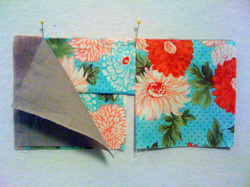
Fold one of the printed squares in half. You are going to make a little sandwich with a solid square, the folded print square and another of the print squares. Ready?
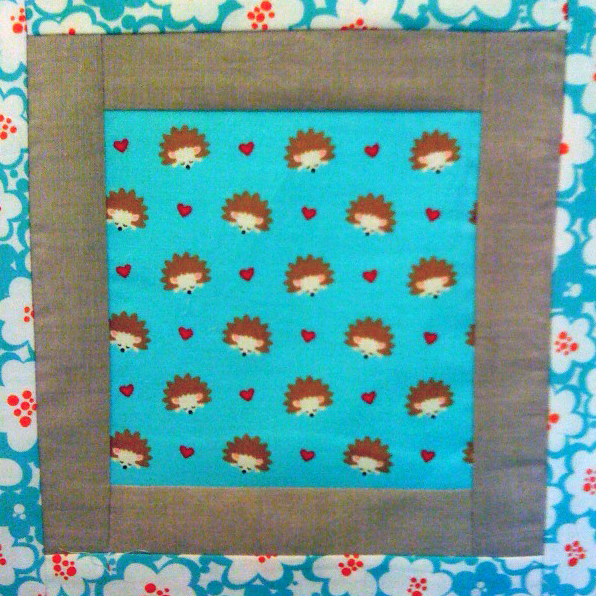
What a lovely little sandwich! Make sure you have the fabrics facing these directions: bottom print square - right side up, middle folded square - edges lined up at the top, solid top square sandwiches in the folded square. Now you are ready to sew them together. You will be sewing along the left side of the square in this photo (In reality you will flip the sandwich over so your seam allowance is facing the right direction!)
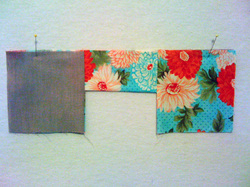
There you go, step one is complete! Next open it up and press the seam allowances: I pressed them toward the printed square in this photo and then flipped the solid square over to the same side and pressed it again. Ready to make your second sandwich?
Here we go! Lay the third printed square right side up, sandwich the folded square in between with the solid square on top. Again the stitch line is shown down the left side of this photo, but you will be flipping it over and sewing with the seam allowance toward the neck of your machine. Press the seam allowance away from the folded square like you did the first time.
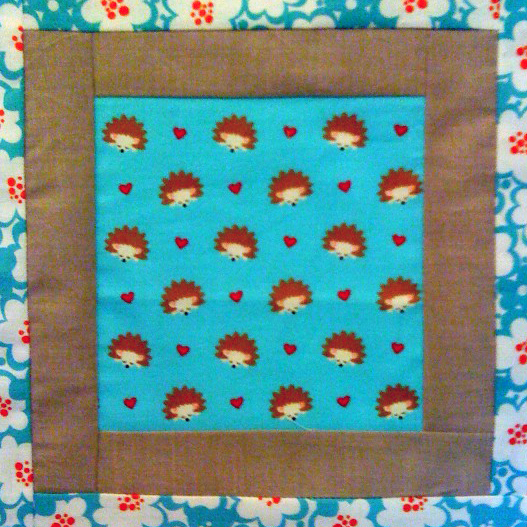
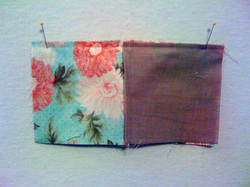
Here is what it will look like when you get to this point.
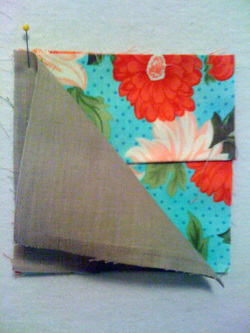
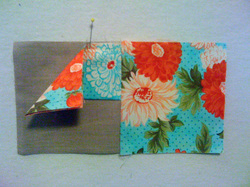
I promise this looks more complicated than it is, and it is fun to boot! Open out the sandwich on the left so a printed square and a solid square a laying flat, right sides facing up. The center printed square will fold and look like a triangle with folded corners at the top edge. Then open up the sandwich on the top and pin them together along the top edge.
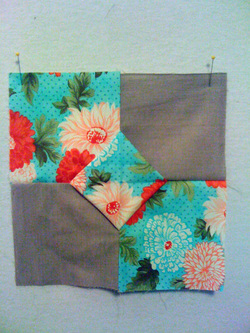
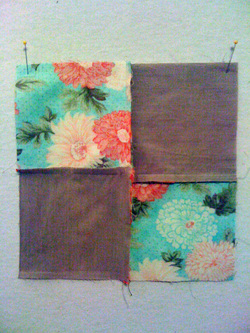
When you sew it it will look like this. And now for the finale. Open it up and voila your bow tie is complete! Every time I do this I feel like shouting hurrah! It is just such a clever little block, I can't get enough of it.
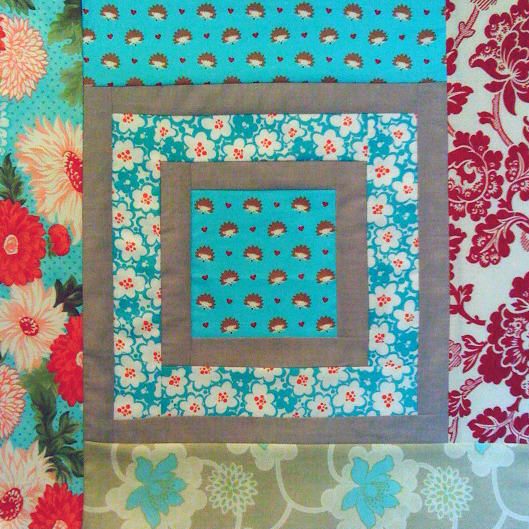
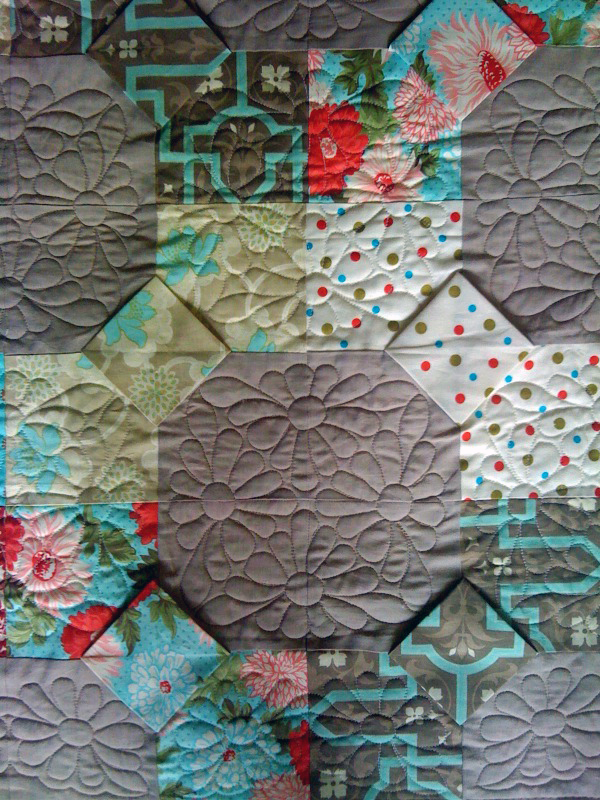
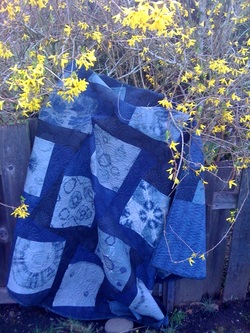
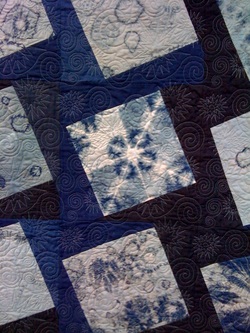
The centers are dimensional, which makes for a great quilting challenge. We decided to do a motif in the hexagon areas and avoid the center of the bows. I can't wait to see the finished piece!
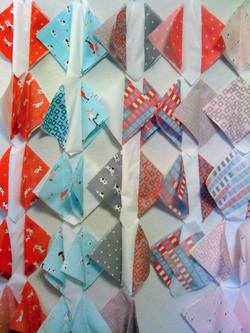
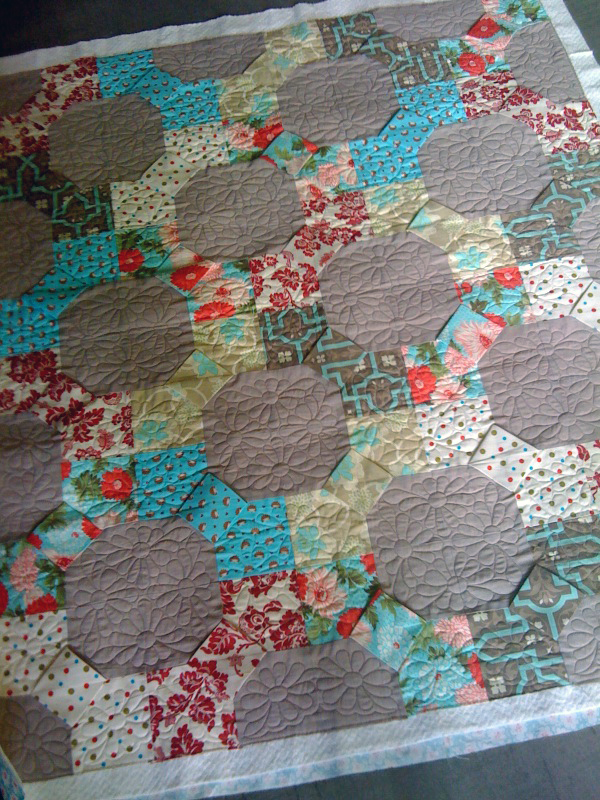
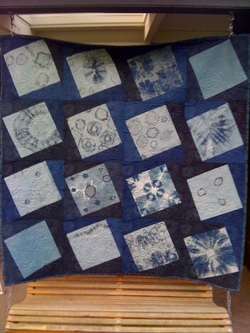
P.S. Here is what the back looks like with the seam allowances pressed. Let me know if you have any questions or get stuck. I promise you will want to make fifty of these once you make one: I know, I did! Here is the quilt top with all the blocks assembled:
I have also uploaded a
layout and cutting guide pdf file here. The finished quilt is going to be donated to the JDRF Hope Gala Auction.


 RSS Feed