Log Cabin Love

7/19/2011

 
This past weekend I treated myself to a birthday present and signed up for Susan Beal's Modern Log Cabin two-day quilting class at PNCA. What a treat it was!

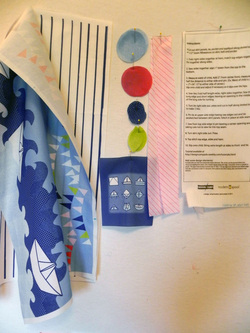
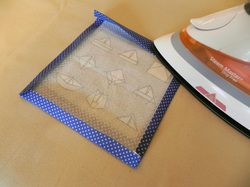
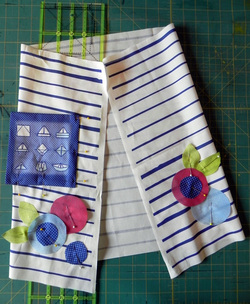
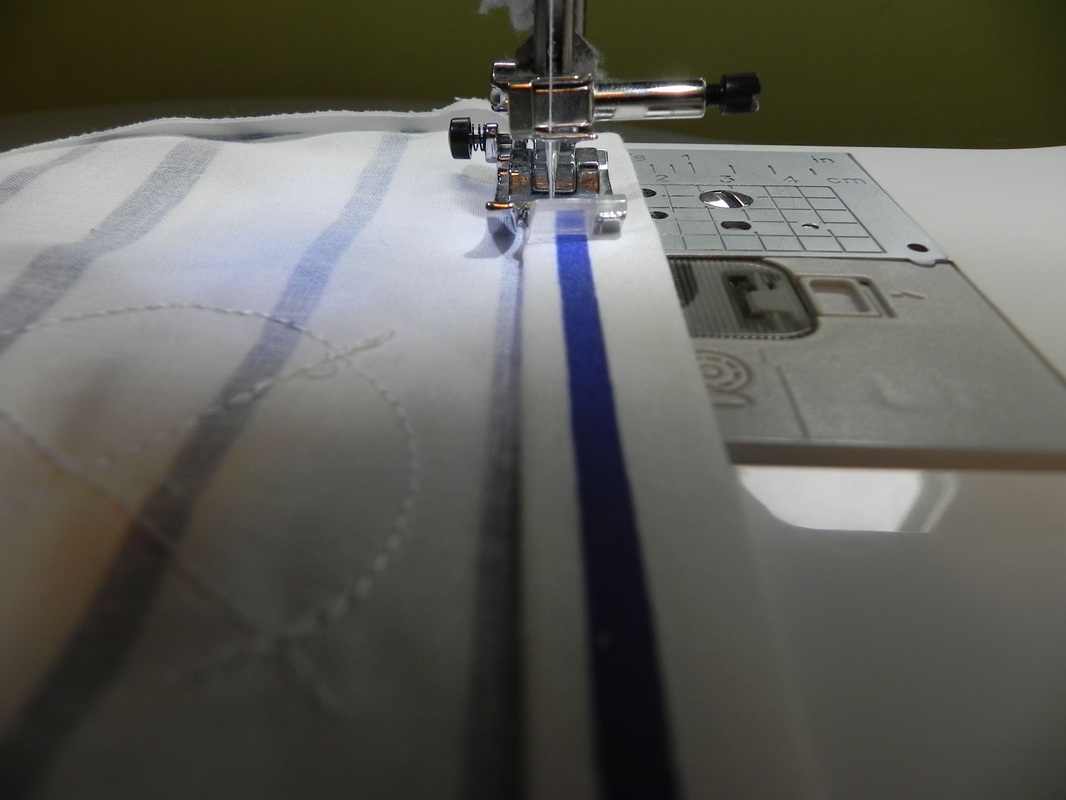
Saturday I cut out all the parts for a quilt I am making for a wedding present for my sister. The design is based on Susan's Anniversary Quilt from her book, Modern Log Cabin Quilting. Susan gave me some sound advice about sewing the logs in a clock-wise direction and it changed my world! I was so inspired that evening I cut out strips after class so I could make sunshine and shadow blocks and experiment with layout varieties in class the next day.
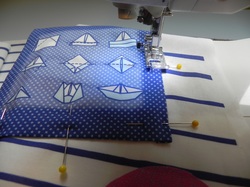
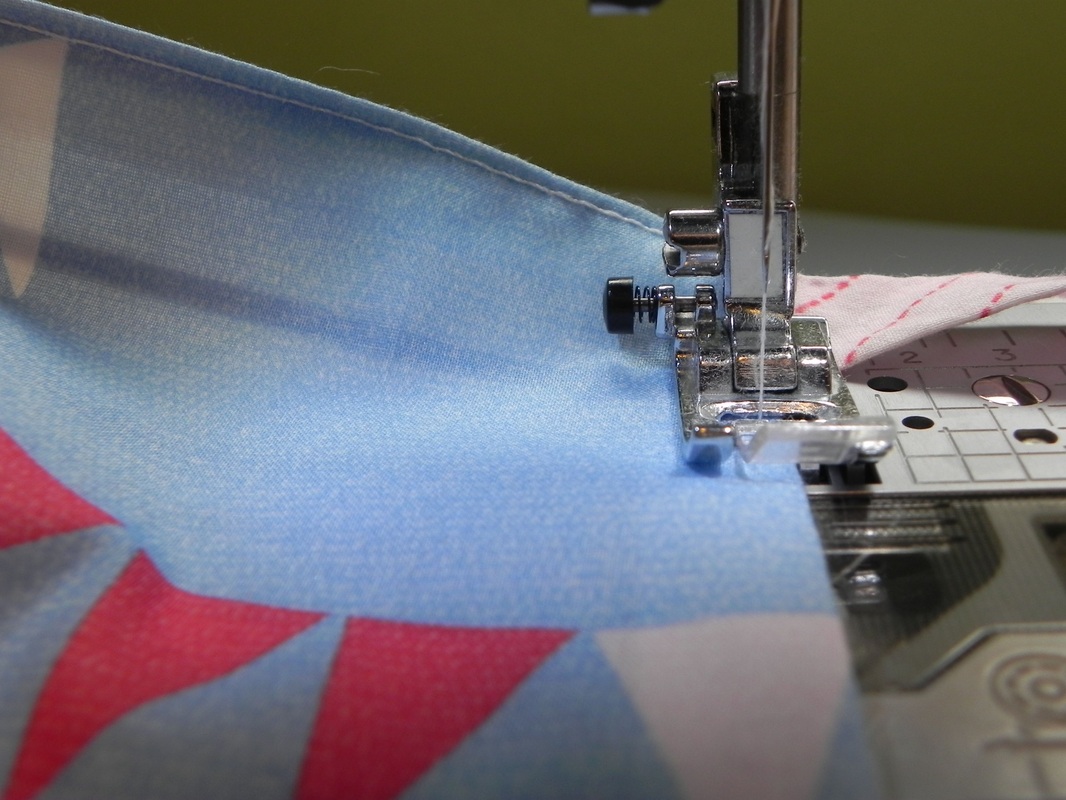
I couldn't wait to start sewing the blocks together Sunday but right away I learned it was much more challenging than I expected. It took an incredible amount of focus and concentration but I powered through it and made my blocks. Then this amazing thing happened: I put my blocks on the design wall and Susan politely asked if she might "show my something". She arranged them into the 'sunshine and shadow' layout and them changed them around to make a 'streak of lightening.' I think at that moment I was actually hit by a bolt of lightening! She showed me a few books she had with other layout variations: the possibilities are endless!

This is the kind of quilting experience that really drives me to learn more. When I made these log cabin blocks I felt that I was part of something that linked my modern day present with the past history of American women. I am so glad I got to take this class with Susan and the other creative and talented women participated.

Susan has a video tutorial on her Modern Log Cabin blog for how to make a basic log cabin block. Click here to watch. She is also teaching a pillow class over at the Pendleton Woolen Mills store on August 20th. Treat yourself to an afternoon with Susan and you will be happy you did!
 
Picture
     This is what happens when I email my friend Tanya (she lives in Santiago, Chile) and say, "are you ready for my next design challenge?" I wanted to design a skirt to enter in the Spoonflower 1 yard skirt contest and I knew Tanya was the perfect person to brain storm ideas with. We have collaborated lots of times as Modern Spool.
     The Ahoy! skirt took about a month to get right; Tanya's role was to act as my design director, advising on construction and challenging me to come up with the best possible design and illustrations. I jumped for joy today when I finished the skirt and got to see it on one of my talented Design Camp students, Maggie S.! To celebrate, I've put a photo tutorial together to follow along with the printed pattern instructions. The contest officially launches next Tuesday, but I just couldn't wait to show it to everyone. Enjoy!
Picture
The Ahoy! Skirt comes as a one yard panel and is available on Spoonflower. You will want to buy the quilting weight cotton for this project.
Picture
Before you cut out all the pieces, measure the hips of the child who you are making this skirt for and mark a line in the seam allowance. The Ahoy! skirt needs to slip easily over the hips in order to get it on. There is a hip measurement guide at the top of the skirt pattern. Note that the actual measurement is only half of this amount (such as 10" for 20") That is okay - your skirt is made using two pieces, so it will fit perfectly! This skirt is designed to fit girls' sizes 4-7.
Picture
Now cut out all the pieces. I used a rotary cutter on my cutting board, but shears will do the trick just fine. The skirt and ties have dashed lines to follow; cut out the optional pocket and circle appliques along the edge of the color. I also cut out and hung the instructions up near my cutting board, which came in handy.
Picture
Here are all the pieces on my design wall. Let's add the pocket and some appliques! You don't have to, but it makes the skirt awful cute, just sayin'...
Picture
Press the pocket 1/4" on the sides and the bottom edge. Press the top edge 1/4" and then turn it another 1/2" and press again. Topstitch that top edge of the pocket.
Picture
Layout all your design elements on the striped skirt piece. I folded the sides into the center so I could make my design decisions. I also sandwiched my wide quilt ruler between the folded piece and the back of the skirt so I wouldn't pin the two layers together. I wanted all my design elements on the front of the skirt, but they can go anywhere! Just don't get too close to the edges or the hem.
Picture
Sew around the three sides of the pocket, leaving the top open for little hands and big treasures. I back-stitched at the top edges for extra security.
Picture
I didn't change any settings for the appliques, but you may want to do a zig-zag or use a free-motion sewing technique. I sewed a variety of straight lines and circles using my back stitch button and a tighter stitch to secure the ends. I expect the edges to fray, but I like that look. If you don't, consider using an applique paper, adhesive or if you are really saavy try turning under the edges and sewing your design by hand!
Here is how my appliques and pocket turned out. Next you will want to sew the ties. Fold them in half with right sides together and stitch 1/4" away from the edge. Turn and press. I used a safety pin to turn my ties, but you can also use a turning tool (pictured).
Now you are ready to put the skirt together. You will want to lay the skirt pieces right sides together and sandwich your tie between the two at both top corners. Make sure this is slightly below the stitch line so you will be able to turn the corner when you sew and not catch the ties.
Pin the skirt from the hip mark at the top and down the side seam to the hem. Sew with 1/2" seam allowance. Clip the corners at the top before you turn the skirt right-side-out.
Turn the skirt to the right side and press.
Picture
Next we are going to finish the hip opening. Turn and press this 1/2" toward the inside of the skirt. You can finish this with a zig-zag stitch at a 1/2" or turn it under 1/4" again and top stitch it. I turned and top stitched it.
Determine the hem length. You may want to slip it on the child to do this or match it up to something they already have. The finished length before hemming is 16" and I turn the hem 1/4" and 1/2" and then top stitch and press.
Almost there! Now you will top stitch close to the edge of the skirt from the hip openings down the side seam, stopping 4" from the bottom hem. Stopping short allows the skirt to hang a more easily and not curl back on itself.
Land ho! Your skirt is ready to wear! One little note: if the skirt is too big in the waist mark where you want it to fit with pins, slip it back off and sew on a snap on each side at the waist band. Now your skirt is really ready!
A big thanks to our model Maggie S. for looking so cute in our skirt! Make sure to post photos of your finished projects over at Design Camp's Spoonflower page or on our Flickr site. I love seeing what you create!
 
We had an amazing week at camp last week! The youngest group of the summer made these terrific samplers. Each day they assembled a block, building skills and then they finished the quilt on the last day of class. I can't wait for camp again next week!